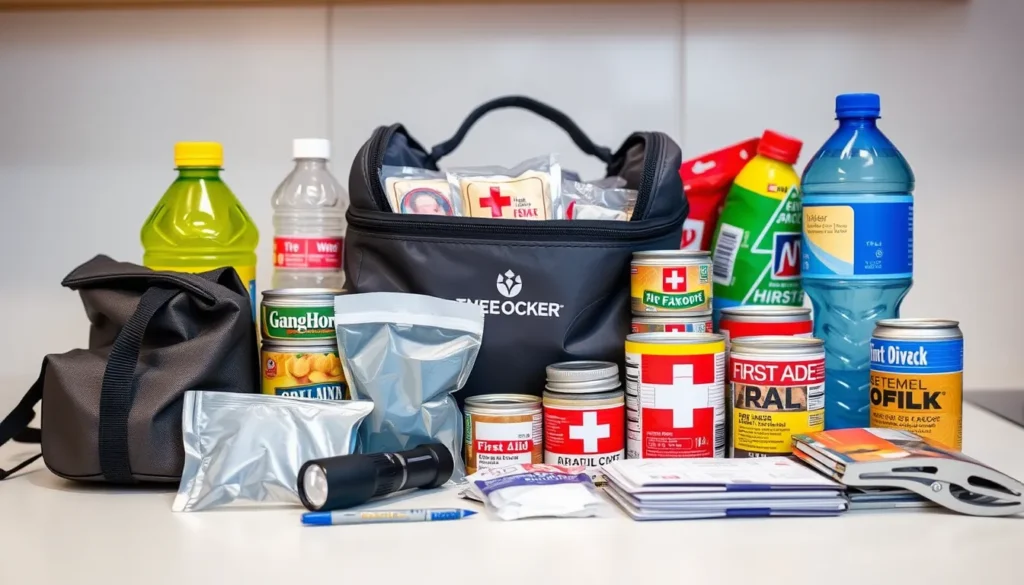
How to Build a Practical Home Emergency Kit
If you’re new to preparedness, living in a small apartment or managing a family, this guide shows you how to Build a Practical Home Emergency Kit without over‑buying or forgetting essentials. It starts from the basic idea of an emergency kit, explains why a Go‑bag matters, and moves quickly to actionable choices.
By the end you’ll have a checklist that covers shelf‑stable food, water, first‑aid supplies, communication tools and personal items, plus a rotation schedule to keep everything fresh. The steps fit space and budget, so you can feel confident you’re ready for power
Define the purpose and scope of a home emergency kit
An emergency kit serves as your immediate safety net when normal infrastructure fails. Its primary purpose is to sustain your household for at least seventy-two hours without relying on external aid. This timeframe accounts for the typical window before utility services are restored or rescue teams arrive. Understanding this baseline helps you avoid over-packing for rare scenarios while ensuring you cover common needs like water, food, and warmth.
Different emergencies demand different responses. A power outage might require battery-powered lighting and phone chargers, while a flood necessitates waterproof storage for documents and higher shelving for supplies. Earthquakes call for sturdy footwear to protect against debris and heavy tools to move obstacles. By identifying the specific risks in your area, you can tailor your inventory to address those threats directly rather than buying generic items that may not fit your situation.
It is crucial to distinguish between a home base kit and a portable go-bag. The home base kit is stationary, stored in an accessible location like a closet or garage, and contains bulkier items such as large water containers, extra batteries, and comprehensive first-aid supplies. It assumes you remain in your residence. In contrast, a go-bag is a lightweight, carryable pack designed for immediate evacuation. It holds only the essentials for one to three days, including personal medications, identification, cash, and compact food.
Confusing these two roles leads to inefficiency. If you try to pack everything into a go-bag, it becomes too heavy to carry quickly. Conversely, relying solely on a portable bag may leave you without the bulk supplies needed if you are stranded at home. Define your scope clearly: build a robust home kit for shelter-in-place and a streamlined go-bag for rapid departure. This dual approach ensures preparedness for both staying put and leaving safely.
Core supplies every kit needs
With your scope defined, you can start gathering the essentials. A robust home emergency kit relies on seven core categories: water, food, lighting, heat, first-aid supplies, sanitation, and tools. These items form the foundation of your preparedness, ensuring you can meet basic physiological needs and maintain safety during the first 72 hours of a crisis.
Water is the most critical resource. Aim for one gallon per person per day. This volume accounts for both drinking and hygiene. Store these in sealed, shelf-stable containers to prevent contamination and leakage over time.
Food should be non-perishable and easy to eat without cooking. Canned goods, energy bars, and dried fruits are practical choices. Prioritize items that do not require refrigeration or complex preparation, as power outages are common during emergencies.
Lighting and heat keep you safe after dark and during cold snaps. Flashlights with extra batteries and chemical hand warmers are reliable options. Avoid open-flame alternatives like candles or stoves inside your home, as they pose significant fire hazards.
First-aid supplies must include bandages, antiseptic wipes, pain relievers, and any personal medications. Sanitation items, such as moist towelettes, garbage bags, and hand sanitizer, help maintain hygiene when plumbing is unavailable. Finally, include basic tools like a multi-tool, duct tape, and a manual can opener. These items solve minor mechanical problems and help you access food or repair temporary shelter issues.
Customizing for household members and special needs
Adjusting for Children
Children have specific physiological and emotional needs during crises. Include child-sized first-aid supplies, such as pediatric dosages of common medications, to ensure safe treatment. Beyond medical items, pack comfort objects like a favorite stuffed animal or a small, battery-free toy. These items help reduce anxiety if you are displaced for an extended period. Additionally, include a small notebook and crayons to keep younger children occupied and engaged, which can be crucial for managing stress in confined spaces.
Supporting Seniors and Mobility Needs
For older adults or individuals with mobility challenges, standard emergency gear may be insufficient. Assess specific mobility aids required, such as spare batteries for electric wheelchairs, extra footrests for walkers, or lightweight folding chairs for resting. Include non-slip socks or sandals to prevent falls on wet or uneven surfaces. Consider the physical effort required to carry supplies; a lightweight, wheeled duffel bag is often more practical for seniors than a heavy backpack. Ensure that all critical items, like hearing aid batteries or blood pressure monitors, are easily accessible without requiring complex assembly.
Managing Medications and Medical Records
Medication management is often the most overlooked aspect of kit customization. Keep a current list of all prescriptions, dosages, and prescribing doctors in a waterproof pouch. If possible, store a short-term supply of critical daily medications in the kit itself, rather than relying solely on your home stock. For seniors, this might include insulin, heart medication, or thyroid hormones. Update this list regularly, especially after doctor visits. Including a copy of insurance cards and emergency contact numbers ensures that responders or shelters can assist quickly if original documents are lost.
Including Pet Supplies
Pets are part of the household unit and require dedicated resources. Include a three-day supply of shelf-stable pet food, collapsible bowls, and a small bottle of water. Leashes, carriers, or muzzles should be packed to ensure safe transport. Bring a current veterinary contact list and vaccination records. Some pets may require specific calming aids or familiar bedding to reduce stress in unfamiliar environments. Remember that not all shelters accept animals, so having a backup plan for pet care is essential when planning your evacuation route.
Organizing, storing, and maintaining the kit
Choosing the Right Container
Select a durable, watertight bin or hard-sided case. The container must be sturdy enough to withstand drops and weather exposure. Avoid using soft bags unless they are rated for heavy loads, as they can tear under pressure. Ensure the lid seals tightly to protect contents from moisture.
Labeling and Accessibility
Every item should be clearly labeled. Use waterproof tags or permanent markers to identify contents. This prevents confusion during high-stress situations where you cannot remember where a specific tool is located. Group similar items together, such as keeping all first-aid supplies in one zip-lock bag and communication tools in another.
Storage Location Strategy
Store the kit in a central, accessible location. It should be easy to grab in seconds, even in the dark. Avoid placing it in a garage or attic if your home is prone to flooding or extreme heat. Ensure the path to the kit is unobstructed. Consider having multiple smaller kits, known as Go-bags, in different rooms for quicker access.
Maintenance and Rotation Schedule
An emergency kit is not a “set and forget” item. Establish a rotation schedule to check expiration dates. Set a recurring calendar reminder, perhaps twice a year, to inspect the contents. Replace expired food, water, and first-aid supplies immediately. Test batteries in flashlights and radios to ensure they still hold a charge. Check that seals on containers are intact and that no items have dried out or degraded. This routine ensures that when you need the kit, every component is functional and ready for use.
Frequently asked questions
How much does it cost?
You do not need to buy expensive, pre-assembled kits. Start with basic, generic items like bottled water, canned goods, and a backpack. The total cost depends on your household size and specific needs, but starting small is more affordable and less intimidating. Focus on functionality over brand names. As you expand your kit, add items incrementally to spread out expenses.
Do I need a separate Go-bag?
Your home emergency kit covers disasters where you can stay put for a few days. A Go-bag is a smaller, portable version for immediate evacuation. While you can maintain both, many households start with a comprehensive home kit and a lightweight, easily accessible subset within it for quick grabs. Prioritize the home kit first, then add a dedicated bag if space and budget allow.
Are there legal restrictions on what I can store?
Generally, there are no laws against keeping food, water, or first-aid supplies in your home. However, local regulations may restrict the storage of certain chemicals, fuels, or large quantities of flammable materials. Always check local fire codes and building regulations before storing large volumes of non-consumable supplies. For most standard household items, you have full autonomy.
When should I update my kit?
Beyond the regular rotation schedule for expired items, update your kit whenever your household composition changes. New pets, infants, or family members with medical conditions require specific additions. Also, review your supplies after any significant local weather event or change in your home’s infrastructure. Ensuring the kit reflects your current reality prevents gaps in preparedness.